A Donor’s Guide to Cash Donations
Last updated: September 25, 2026
Making a cash gift to your organization is a meaningful way to support its mission! Follow these steps to complete your donation with ease.
Step 1: Click the Donate Credit/Debit/ACH tile.
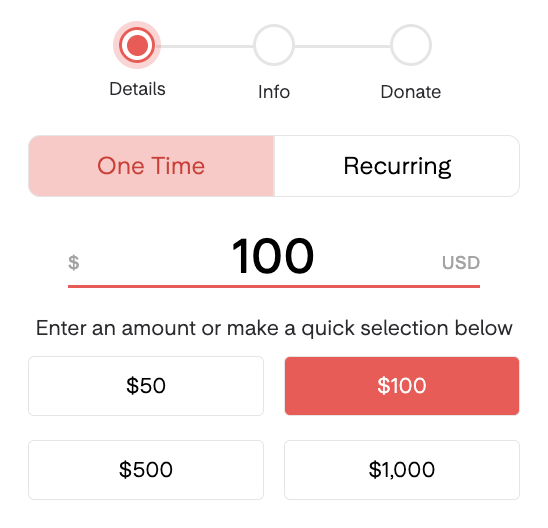
Step 2: Choose your gift type and frequency.
One-Time Gifts
Simply enter your donation amount or make a quick selection from the options below.
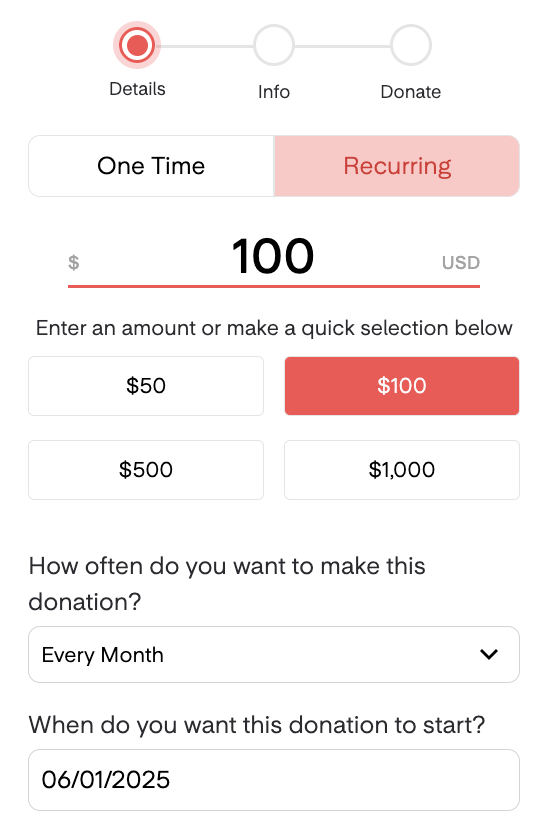
Recurring Gifts
After entering your donation amount, you will also be prompted to choose the frequency and the start date.
🔄 Frequency: Every 2 weeks, every month, every week, or the 1st & 15th of each month.
Note: The 1st & 15th schedule will appear as 2 monthly recurring gifts in your Donor Profile. This allows each donation to be processed on its scheduled date.
🗓 Start Date: You can only schedule it to start up to 5 days in advance for weekly gifts (or up to 30 days in advance for monthly gifts).
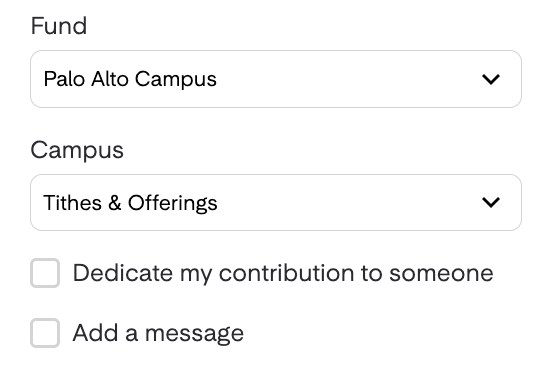
Step 3: Select your gift designation.
Choose the campaign or subcampaign (if applicable) you'd like to support.
🎯 You may select only one fund per transaction. If you'd like to support multiple funds, please submit a separate donation for each designation.
🔍 If you cannot find a particular campaign or subcampaign, we encourage you to contact your nonprofit directly for guidance. This is the best way to ensure everything is set correctly!
Your nonprofit may also offer the option to dedicate your contribution to someone or add a message.
Step 4: Log in using your phone number or email address.
Similar to accessing your Donor Profile, you will receive a one-time verification code to login. (🔗 Trouble Receiving Your Verification Code?)
If this is your first time donating through Overflow, you'll be prompted to complete your personal details to set up your Donor Profile.
Most organizations choose to import donors’ historical giving, so you may already have a Donor Profile set up for you.
Step 5: Decide whether to donate anonymously.
You can choose to donate anonymously while still ensuring your gift is tax-deductible.

🧾 Anonymous gifts will not be publicly acknowledged by your nonprofit, aside from your confirmation emails and tax statements.
Step 6: Select your preferred payment method.
You can choose to give from a saved payment method or enter a new one.
New payment methods can only be added when you make a new donation through Overflow, and will be saved to your Donor Profile once the transaction is fully submitted.
All supported payment methods can be found here.
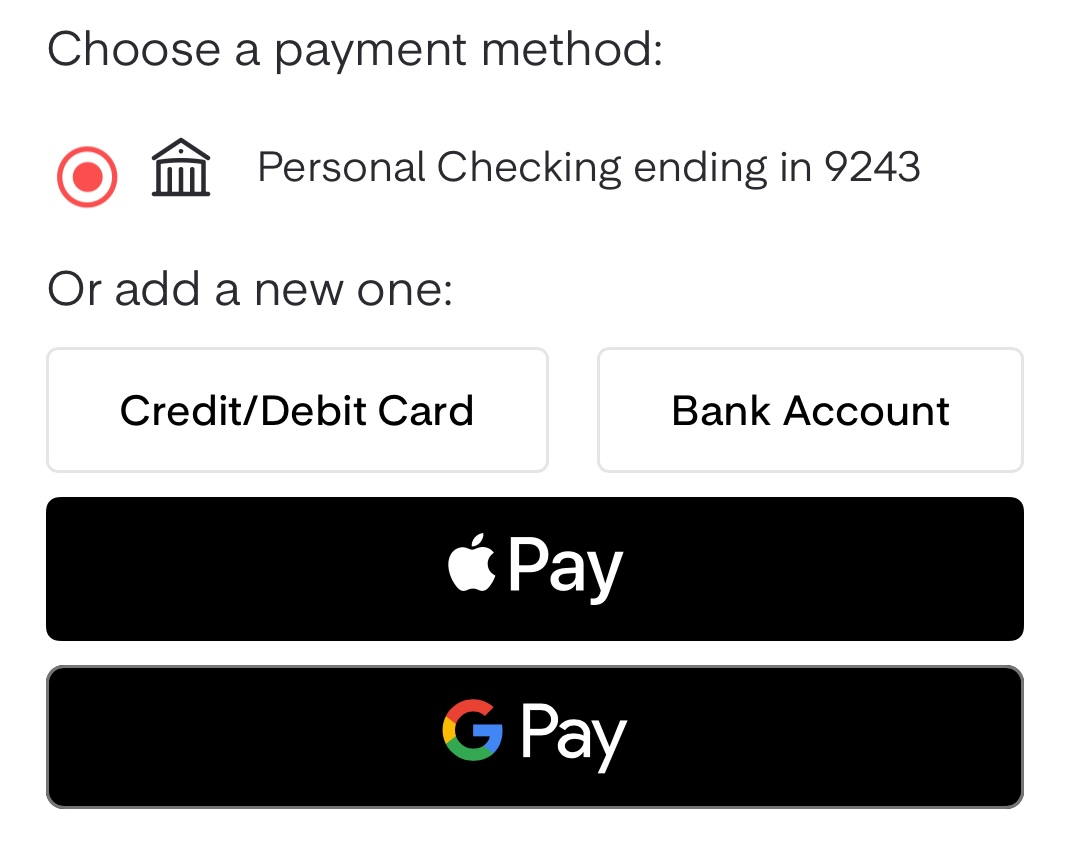
Credit/Debit Card: Enter your card number, expiration date, CVC, and billing zip code.
Bank Account (ACH): Connect your bank account through Plaid or enter your bank details manually. (🔗 Setting Up ACH Donations)
🔒 The last 4 digits might show a Virtual Account Number (VAN) rather than the last 4 digits of your actual bank account number.
Digital Wallets: Use Apple Pay or Google Pay for a fast, secure checkout.
⛔️ Unfortunately, not all banks or credit card issuers are fully compatible with Apple Pay. (🔗 Apple Pay: Why Was My Donation Declined?)
The last 4 digits may not match your actual credit card number because Apple Pay uses a unique Device Account Number (DAN).
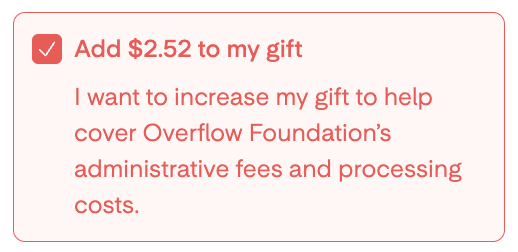
Step 7: Choose whether to help cover the processing fees.
You can help your organization cover the administrative and processing fees by checking the box (optional).
The additional fee (≈ 3%) will be shown upfront and is also tax-deductible.
Step 8: Finalize your donation and receive confirmation.
Click Donate Now.
Pressing the “Donate Now” button in the cash giving flow sets up your recurring gift preferences, but your payment method won't be charged until the chosen start date.

If you chose to help cover the fees, the total amount will be displayed as well.
Once your donation is complete, you’ll receive a confirmation email.
👤 You can easily view and manage your contributions (and any scheduled recurring gifts) through your Donor Profile.